

Happy Monday! It’s not Tiger Time, it’s BENTO TIME! A few weeks ago, I posted an Instagram photo of a Winnie the Pooh bread which my aunty made for me during breakfast. Many of you love it so much!
Thanks to J-mama&Baby (click link here), I got this Winnie the Pooh bread maker. My aunty, being a fan of Winnie the Pooh, got so excited when we received the package and she enthusiastically made me breakfast with that mould the very next morning.
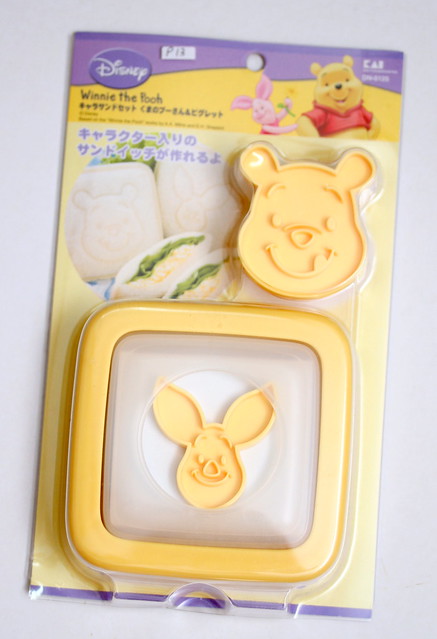
When I saw the box, I didn’t really know how to do it. But the aunty just demonstrated to me easily. My suggestion to you is to buy a bigger bread, so that the two bread can be sealed securely. After looking at my Winnie the Pooh bento on Instagram, my friend Melpig went to get a Mickey & Minnie Mouse Bread Maker immediately! Now, I am so tempted to get it too.
Anyway, I finally got some time to do a step-by-step on how to do the bento. I am going to show you the Piglet one. All the steps are the same, different character only. Here it goes!
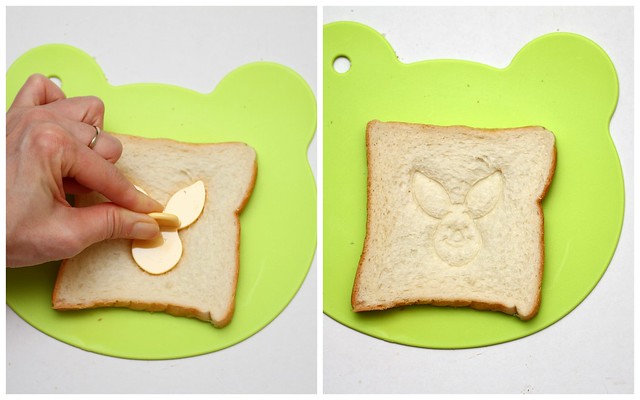
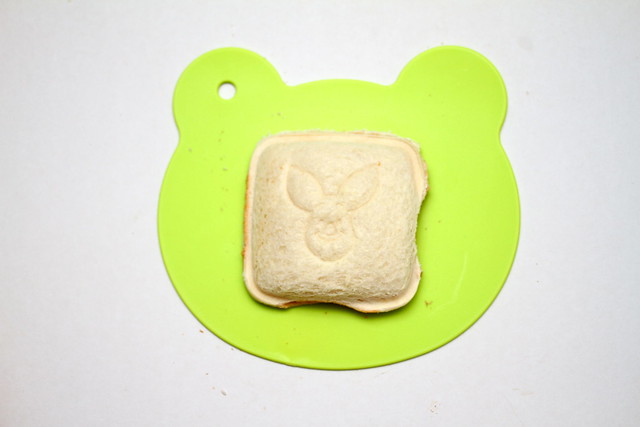
Step 1: Press the mould onto one bread to engrave the Piglet. Leave it aside.
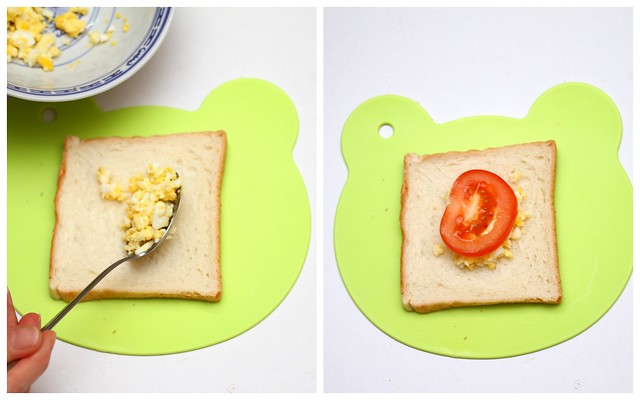
Step 2: On another bread (without the piglet), add your favourite ingredients. For me, I added mashed eggs with a piece of tomato.
Step 3: Place the Piglet bread on top of the bread with eggs. Press down the box down to seal it.
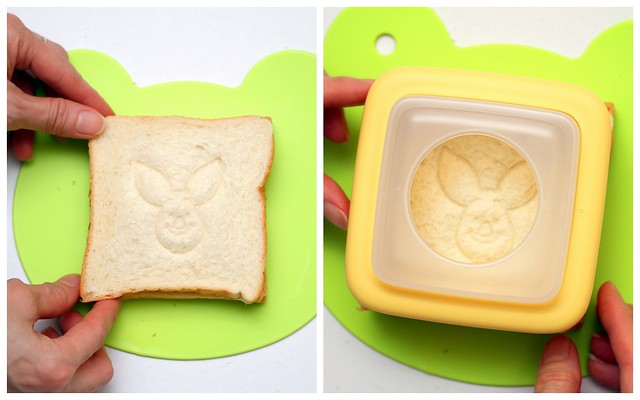
Step 4: Remove the box and you are done! You can decorate it with fruits or use seaweed to put on the eyes. For me, I am just too lazy to do any of the above and eat it immediately!

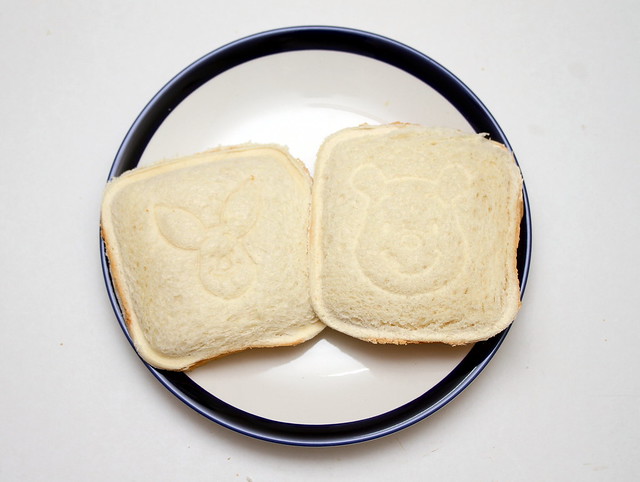
You can also make Winnie the Pooh one (which Aunty ate it)! J-Mama&Baby also has Mickey and Minnie mouse one.

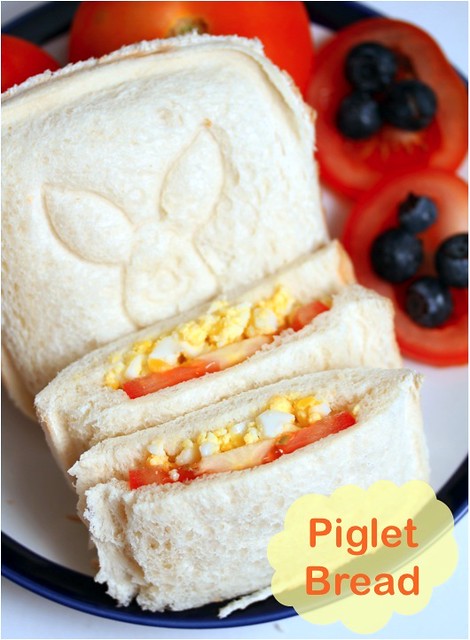
This is a close up shot of my piglet egg bread. Very cute, isn’t it? And of course, my breakfast looks more yummy than usual!
Hope you like it. Have a yummylicious Monday! 🙂